
Materials:
LD Petticoat Black
Love Flourish Cut It Set (or any other set with a heart)
Directions:
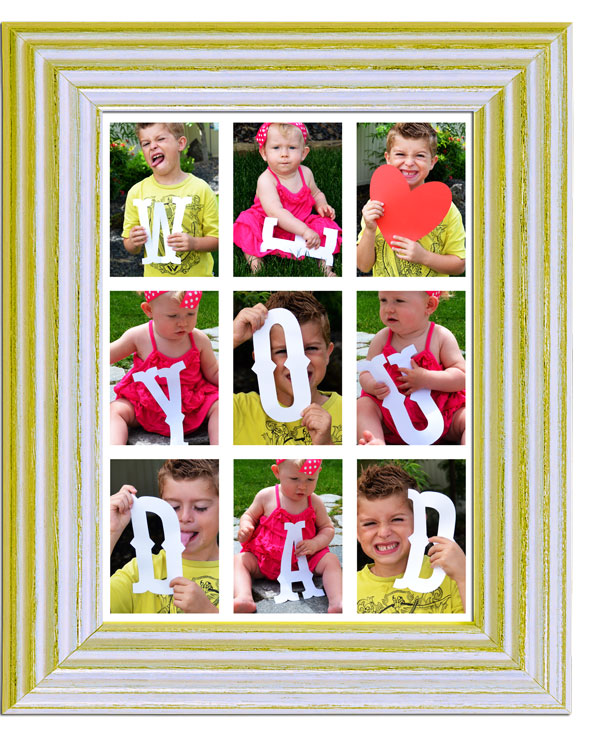
Begin by cutting out your letters and heart. Cutting fonts out is super easy if you have Make-The-Cut.
Just click on the texts and fonts tab to the right. Select the font you want to use. I used LD Petticoat Black, and then select the Add Text Group button beneath and a box will pop up for you to add the letters you would like. I did one letter at a time since I was making them fairly large.

Then size the letter by selecting the corner and dragging.

Once the letters are cut, the most difficult part of this was actually taking my super uncooperative kids pictures, try to have fun, and make the best of it. No matter what it will turn out cute!
Create the format you want to place the photos on. You can decide sizing and then format rectangles or squares to fit. If you create each rectangle on a separate layer, you can easily align and space the rectangles by selecting each one and selecting the appropriate align button at the top.

When the format is created, go ahead and place each photo above the square you would like, and then right click on the photo layer and select "create clipping mask". The photo will insert inside the created format. I then sized my photo down from here so that it fit how I wanted it to.


No comments:
Post a Comment