Materials:
Get to the Point Print and Cut
Screw Brads
Card Stock
Hole Punch
Directions:
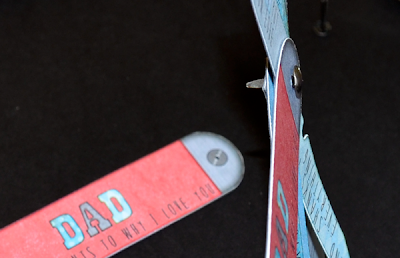
First begin by printing and cutting out the entire Get to the Point Print and Cut set on to cardstock. Next, using a small hole punch punch holes in the ends of all the knife points. I did mine about an 1/8th of an inch away from the end and centered between the two edges. Make sure you stack the two covers together before you punch so that you can get the holes in the same place. One cover will be used for your back.
Place your first screw brad through the end of your top cover piece and begin to layer on the knife pieces. You may want to organize the order of the knife pieces to make the most sense to you.
Secure the back cover piece and bend the brad's legs into piece.
Now layer the rest of the knife pieces on the opposite side and secure.
A fun little gift for dad that even opens and closes!


How neat! My husband would love it!
ReplyDeleteCarmen L